Windows 11 gives users the ability to choose between a light and dark interface, just like practically every other major operating system on the market right now. By default, light mode is on, however dark mode can be more comfortable for the eyes, particularly at night or in poorly lit areas. It can even lower the amount of electricity your device’s display consumes under certain situations. This is how to enable it on Windows 11.
Turn on Dark mode in Windows 11
How to activate Windows 11’s Dark mode:
- Open Settings from the Start menu or with the Win+i shortcut on your keyboard.
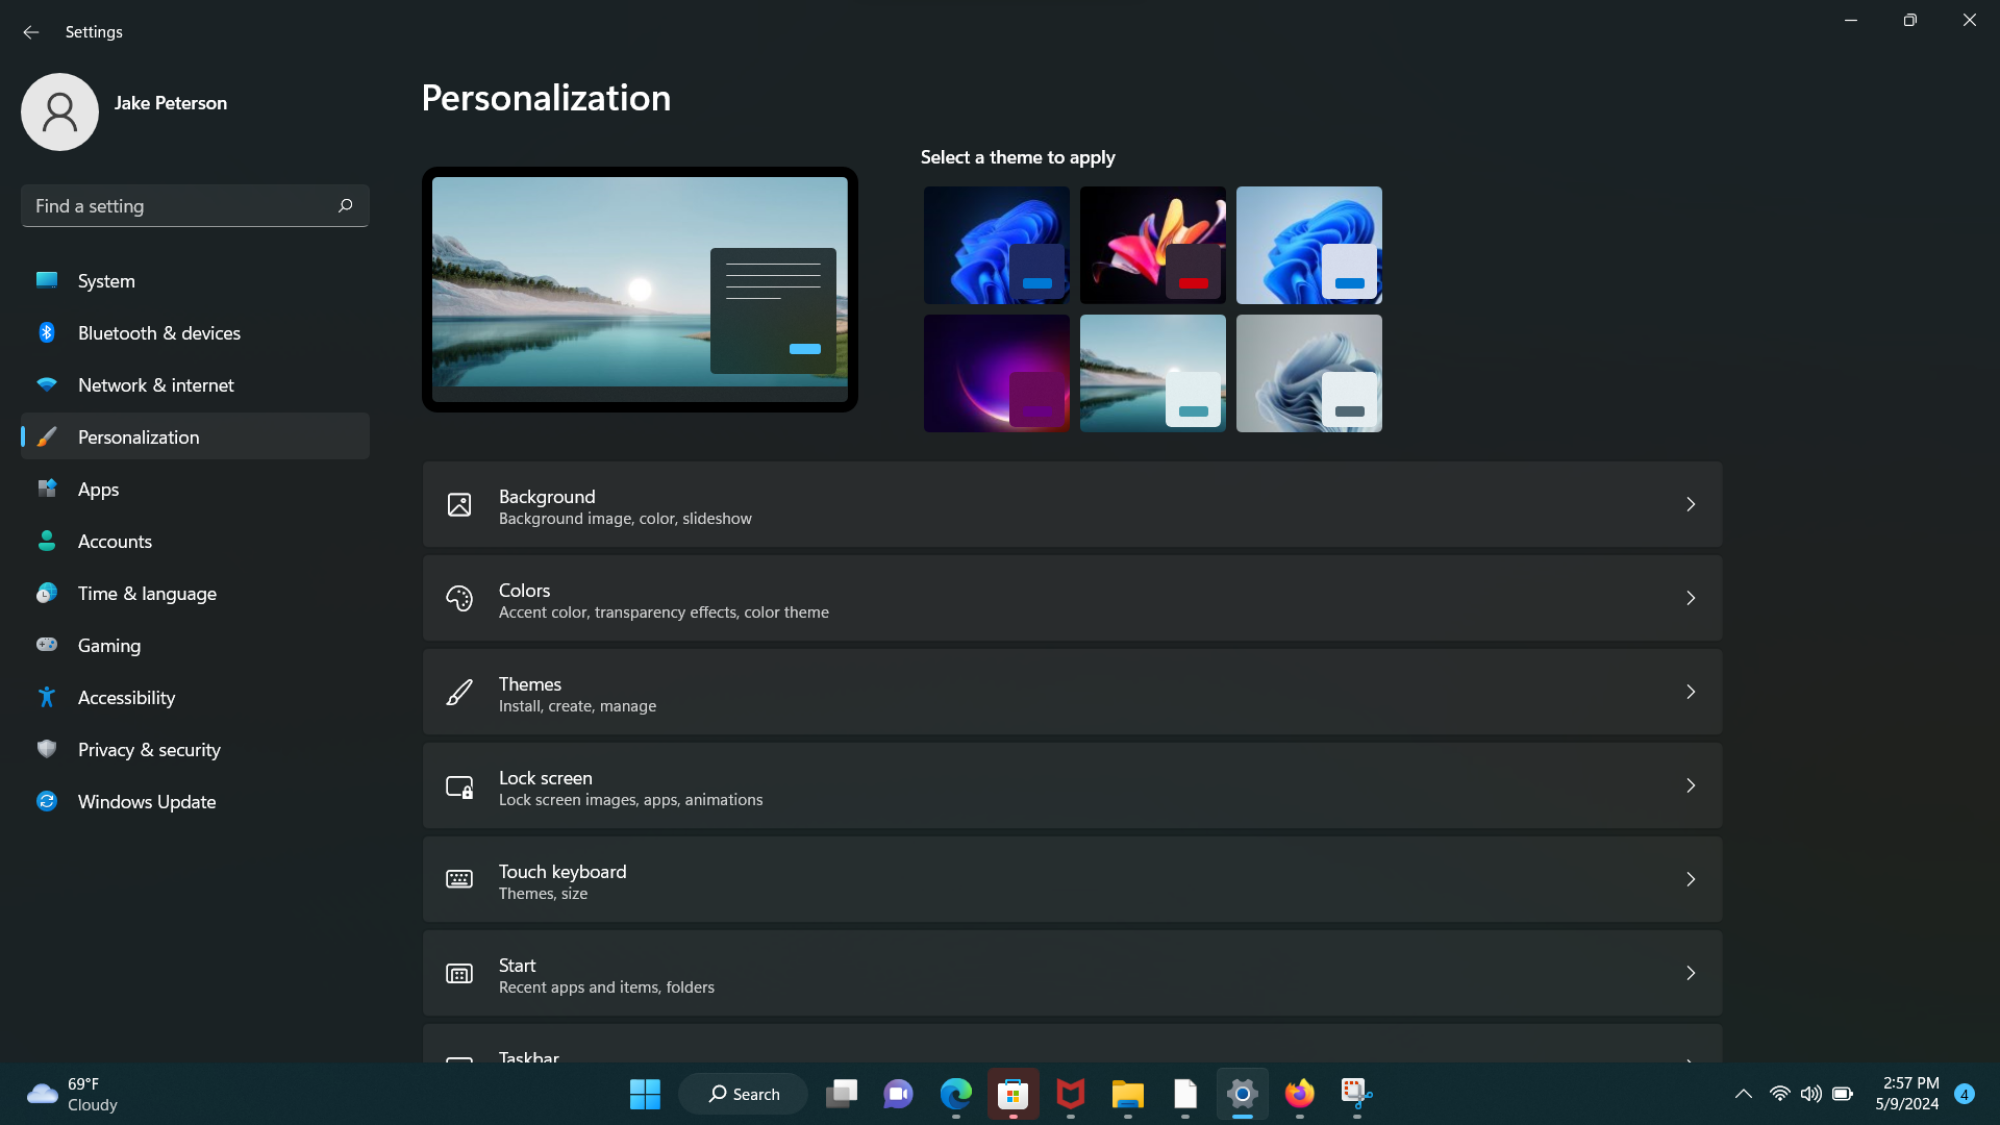
- Select Personalization from the list on the left-hand side.

- Select Colors in the Personalization menu.
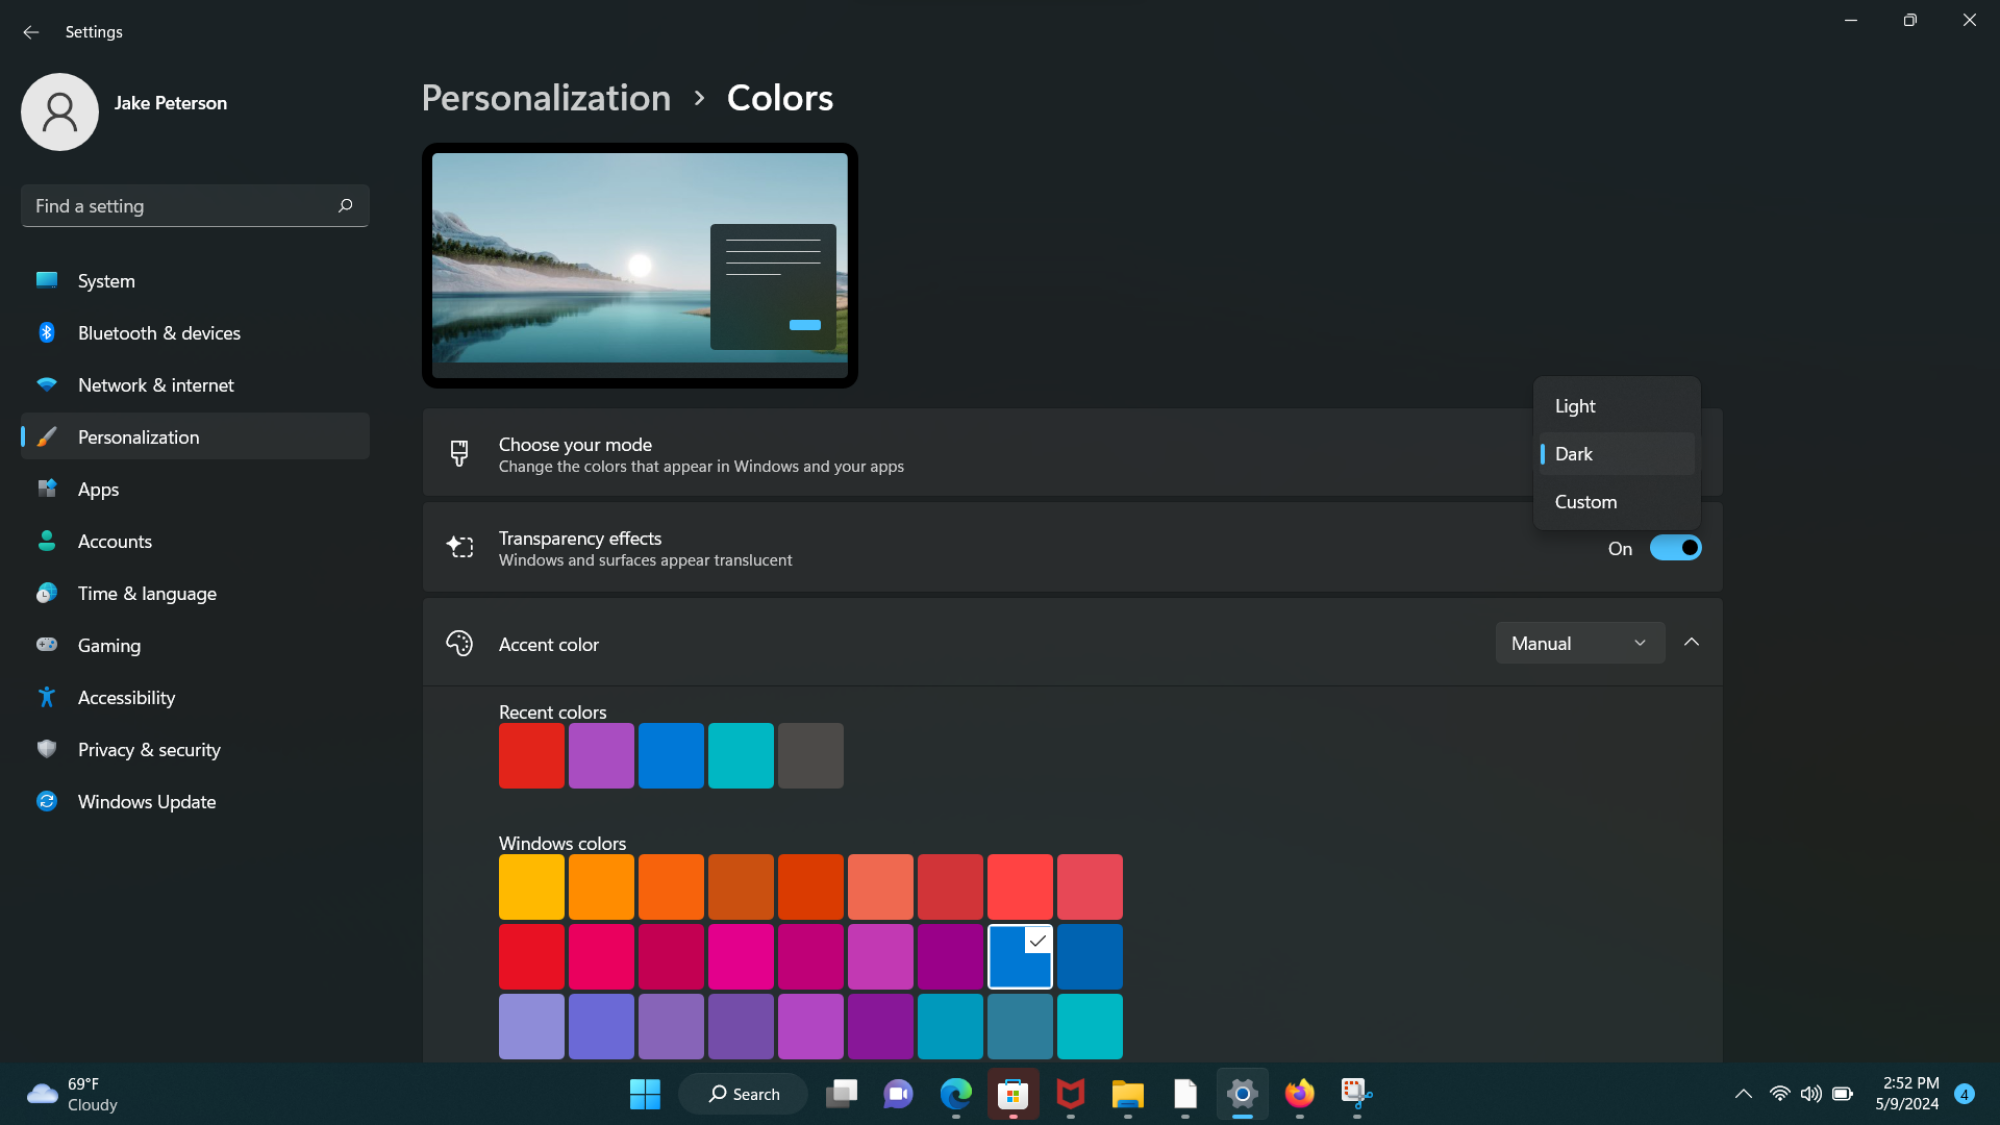
- Click Choose Your Mode, then choose Dark from the list that drops down.


This merely applies the default Dark mode settings in Windows 11, despite being simple. Actually, there is a little bit more customization available.
Use a pre-made Windows 11 theme
Similar to Windows 10, Windows 11 allows you to install custom themes that instantly alter the interface’s wallpaper, accent colors, menu and folder colors, icons, and more. This is how to contact them:
- Go to Settings > System > Personalization using the same method above.
- Click on Themes in the menu list.
- From the drop-down option labeled “Current Theme,” choose the desired theme. Although a few other themes also have color schemes resembling dark mode, the “Windows (Dark)” theme is arguably the most secure option.
- You can see and download more themes from the Microsoft Store by clicking Browse Themes if you are not happy with any of the pre-installed alternatives.
- Once you have selected your new theme, click Apply to enable it.
Customize theme colors
You can change the colors of your theme if you do not like the default Dark Mode settings or if you just do not want to use Dark Mode for all of your windows and apps.
- Select Personalization from the list on the left-hand side after opening Settings.
- In the Personalization window, choose Colors.


- From the drop-down menu, choose Custom when you click Choose Your Mode.
- To choose the theme that Windows and Menus will use, select either Dark or Light. This will prevent Windows from attempting to take control and let programs utilize whatever mode you have configured for them.
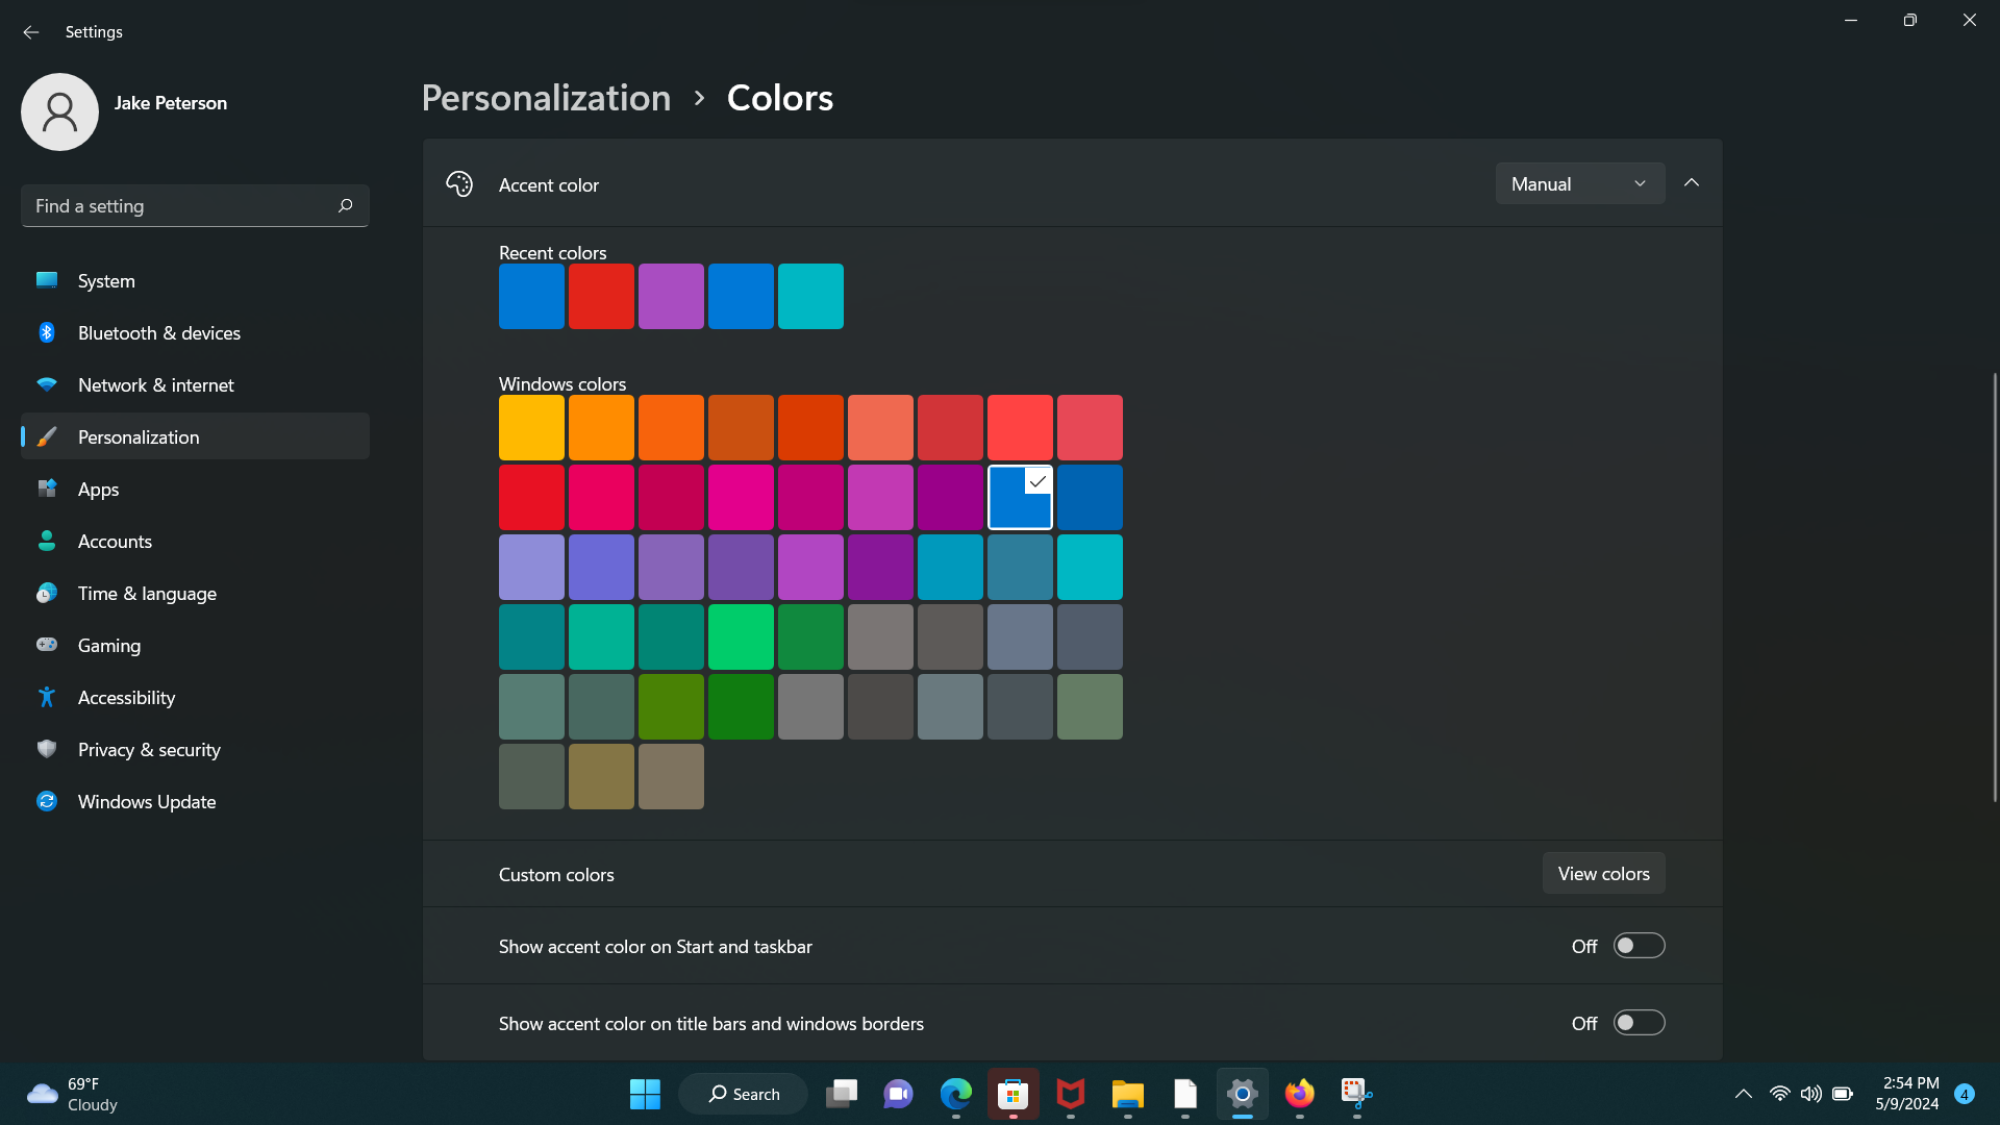
- To choose an Accent Color, you can also set it to Manual.


- To select your favorite color, click View Colors and use the color picker.
- Toggle between the borders to choose which ones you want the accent applied to.
Use a Contrast theme
“Contrast themes” are another feature of Windows 11’s customization options that are intended for users with particular vision-based accessibility needs. Contrast themes, as the name suggests, employ contrasting color schemes to help text stand out against the background. For menus, this means using light text against dark backgrounds, or dark text against light backgrounds. Numerous them will serve as ominous themes as well.
While you can change contrast themes by turning them on in the Windows settings menu, you can also toggle them on and off at any moment by hitting the left Alt + left Shift + Print Screen buttons.
The Contrast themes menu can be found in two ways:
Go to Settings > System > Personalization > Themes > Contrast themes to get the first technique.
Alternatively, simply select Contrast themes from Settings > Accessibility.
Choose your preferred color scheme from the drop-down menu when you are in the Contrast themes menu. To change your contrast theme, click “Edit.”