One of the finest things about the new operating system is the Windows 11 taskbar, which is stylish, simple, and visually appealing. It might yet be improved, though. For instance, the taskbar cannot be resized or moved to any desired location by default. You can customize the taskbar to your exact liking by tinkering with the options, so you do not have to accept it as is.
Disable Microsoft Copilot and other junk

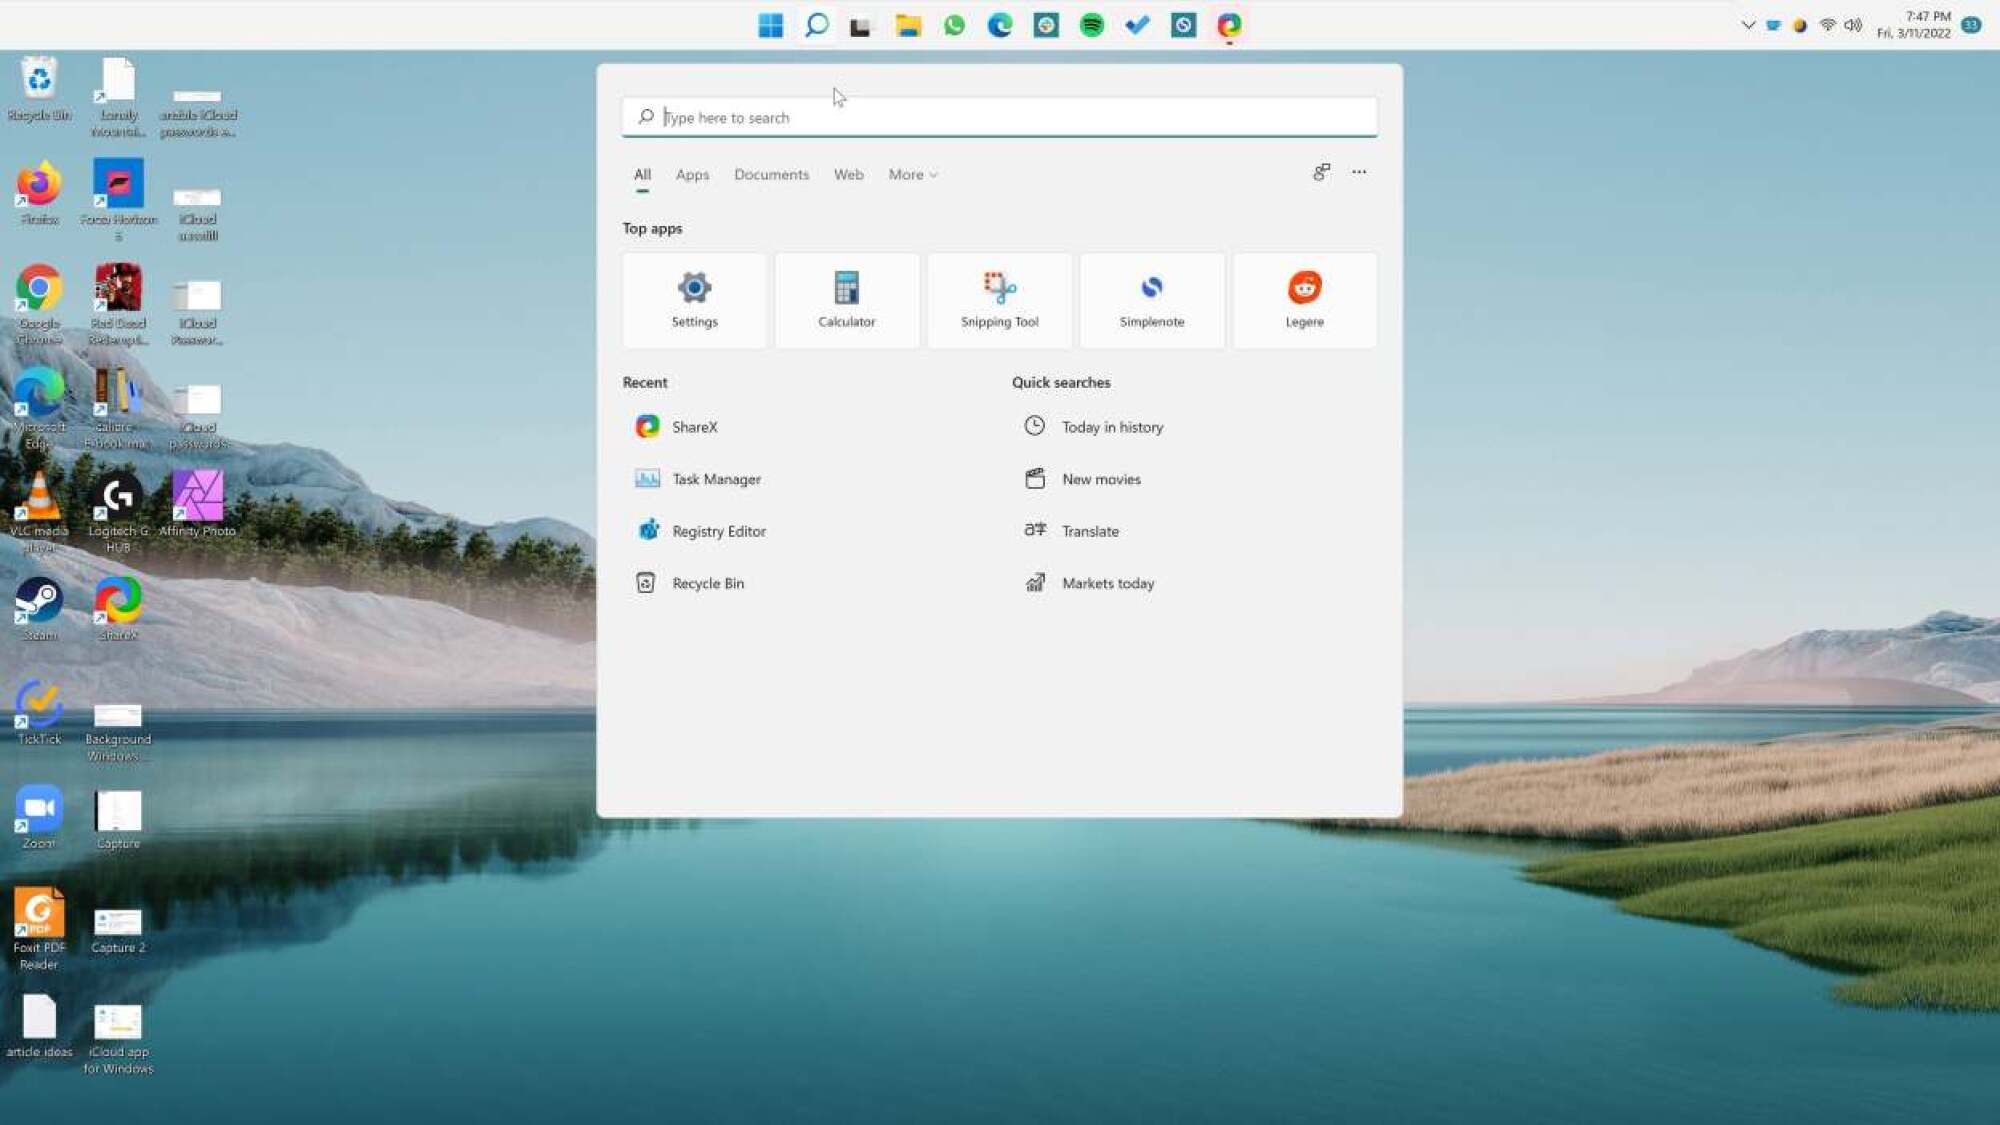
There are a number of buttons on the Windows 11 taskbar that you will (probably) never use. The Widgets button, which enjoys displaying advertisements and news updates, is located on the left border. You could or might not find use for the new Microsoft Copilot button, which is located on the right. And there is a large, antiquated Search bar in the center, close to the Start symbol. Fortunately, there is some consolation in the fact that Microsoft was compelled to delete the Chat button in the Windows 11 2023 update. But when you take out all these extra functions, you will be shocked at how much better the taskbar gets. It gets sleeker, simpler, and much more reasonable.
Click on Taskbar Settings by right-clicking on any empty space in the taskbar to hide the features you do not wish to use. Make sure that the Widgets, Task View, and Copilot features are disabled in the Taskbar Items menu. Select the “Hide” option from the Search menu.
Pin any app to the taskbar
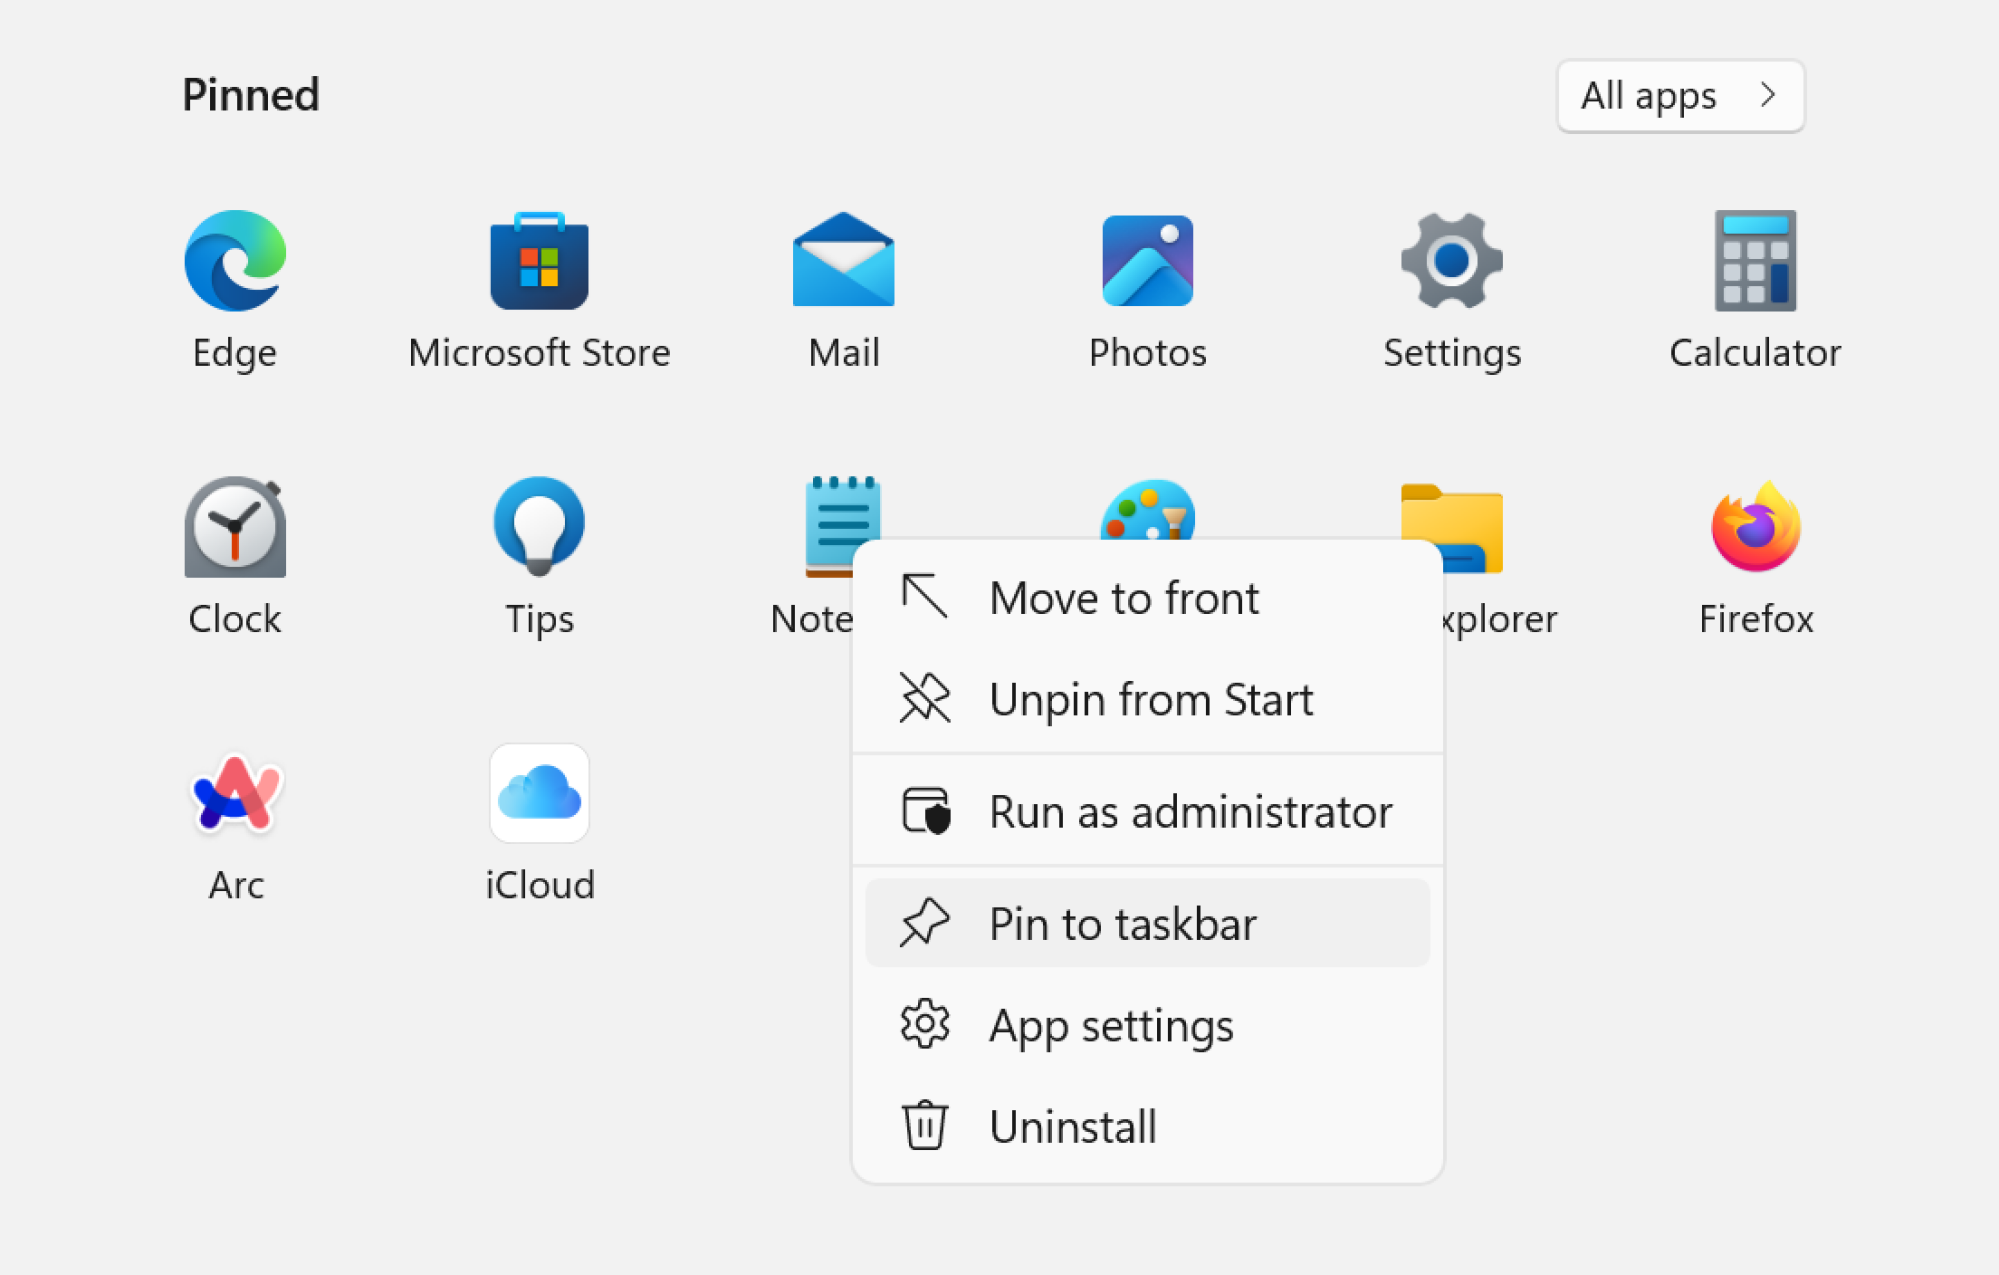
The Windows 10 taskbar drag-and-drop functionality, which allows you to simply drag an app icon to dock it within the taskbar, is not currently supported by Windows 11. To get around this, select the app of your choice from the Start menu, right-click it, and then select the Pin to Taskbar button. Any open app can be pinned by right-clicking on its icon and selecting “Pin to taskbar.”
Left-align the taskbar icons
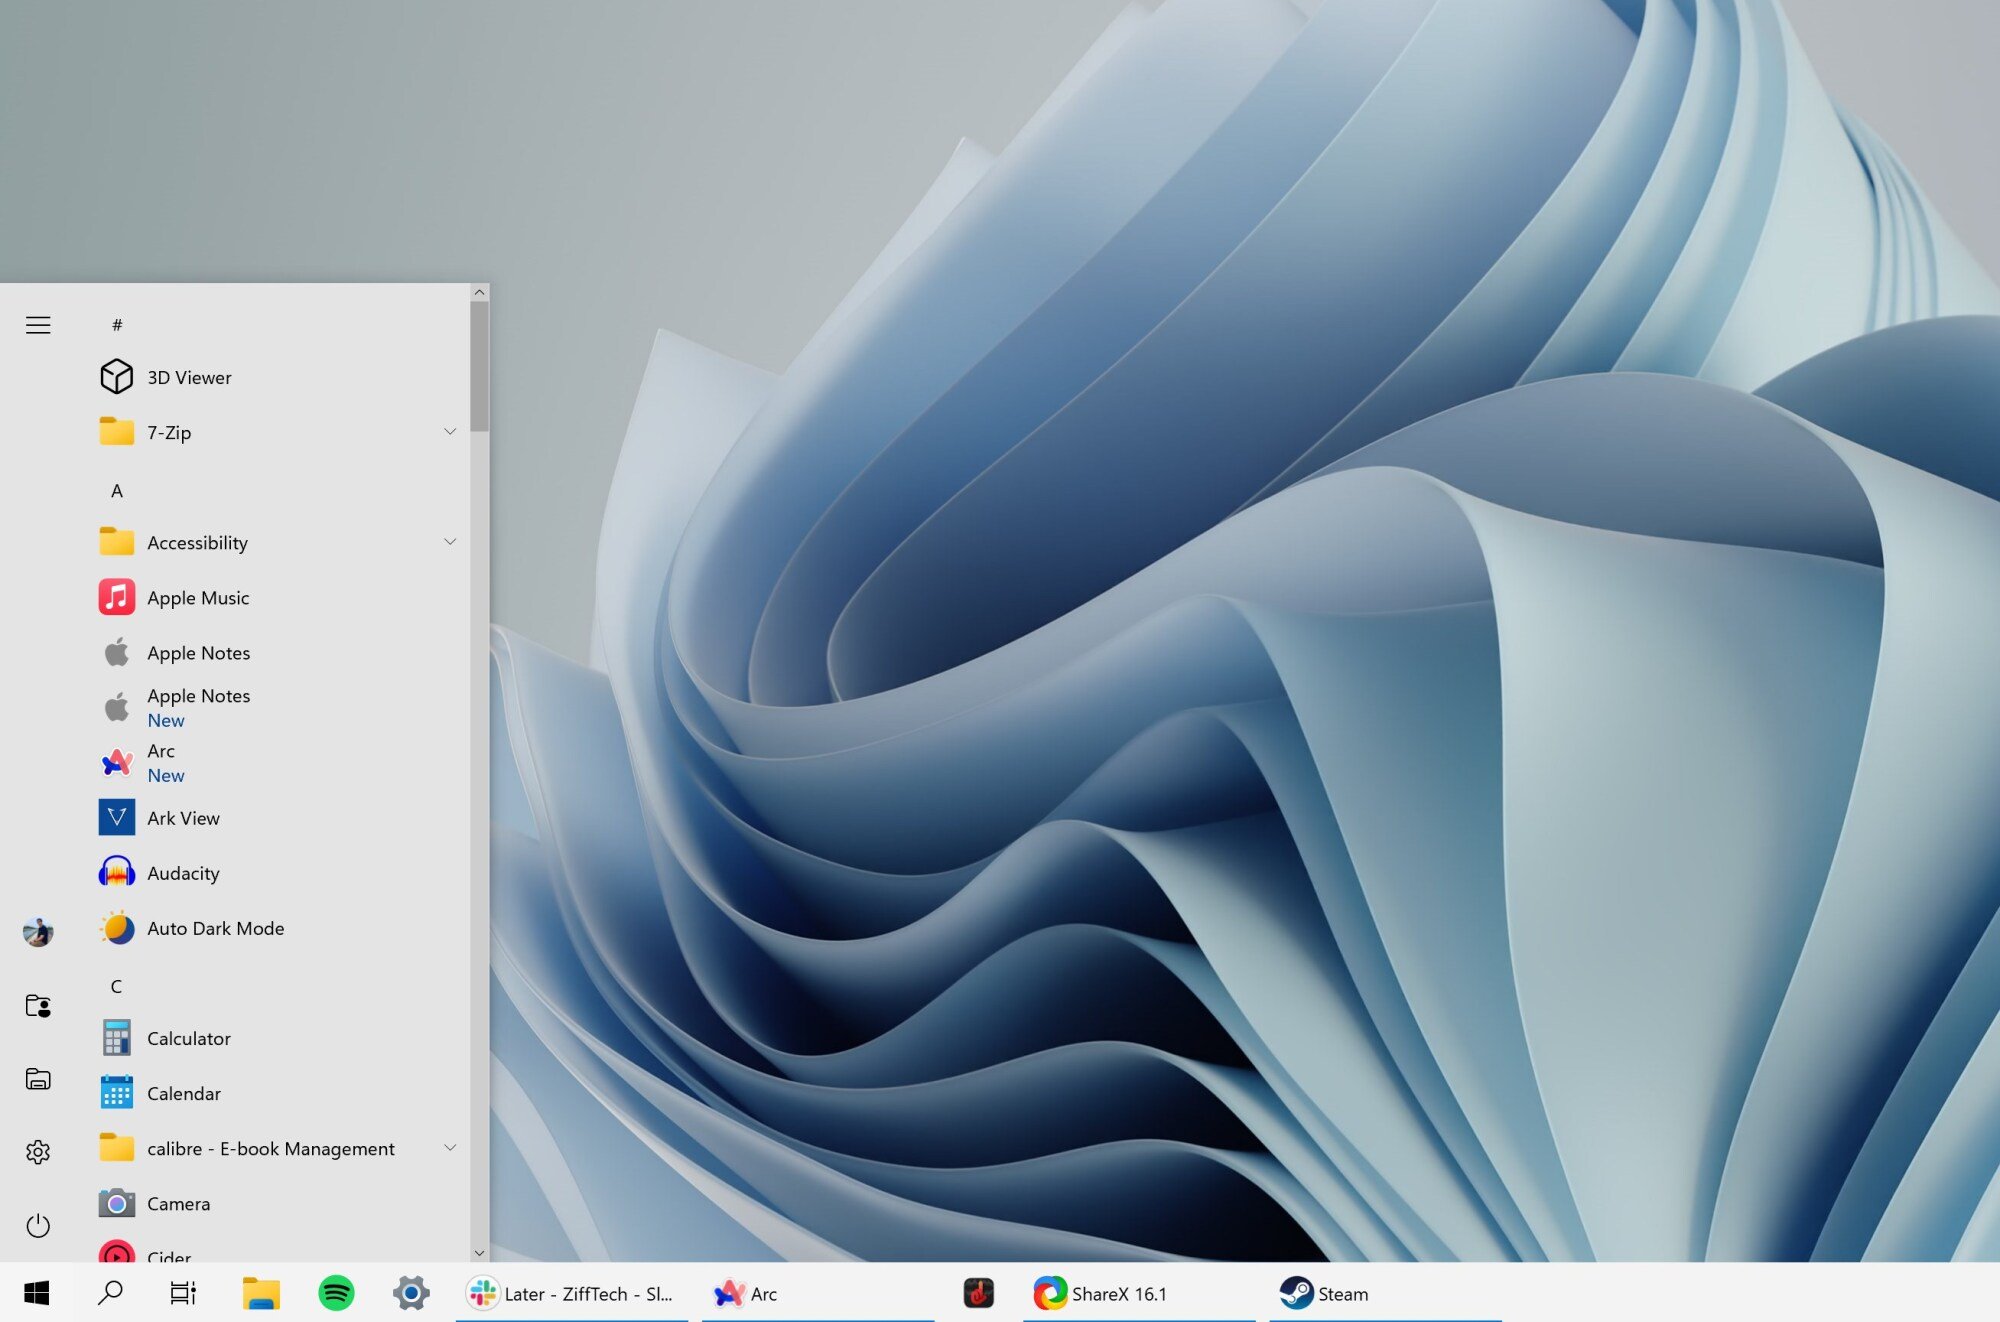
Do you miss the taskbar arrangement from Windows 10? Microsoft allows you to adjust the taskbar icons’ alignment. To adjust the taskbar orientation, right-click the taskbar, select Taskbar Settings, then Taskbar Behaviors. From there, select the Left option.
Change the behavior of the taskbar (auto-hide, badges, and more)
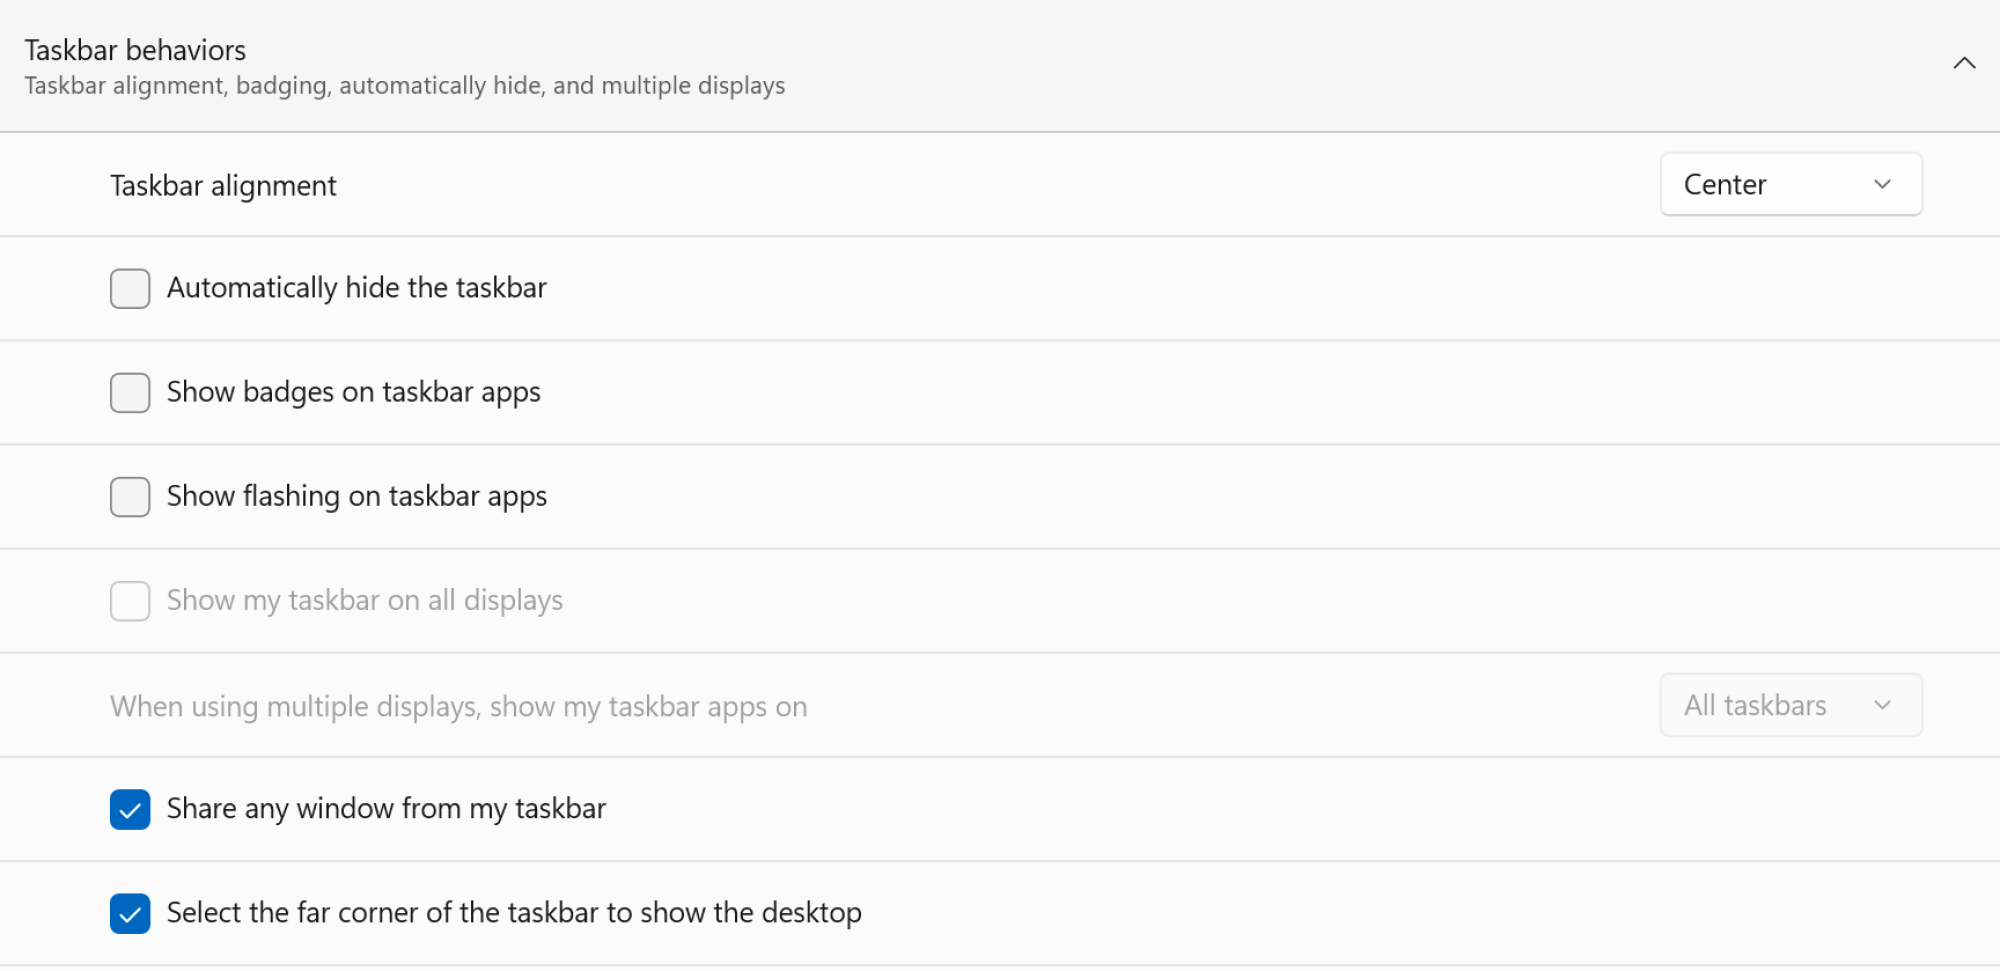

In Windows 11, there is a dedicated section where you can adjust the taskbar’s behavior. To access the Taskbar Behaviors section, right-click the taskbar, pick the Taskbar Settings option, and then click.
To free up more screen real estate, consider hiding the taskbar if you are using a small screen device or a touchscreen laptop. If yes, make sure the taskbar is automatically hidden.The taskbar will now only appear when you swipe up from the taskbar area or when you move your cursor to the bottom of the screen.
Similar to this, you may use the Show badges on taskbar apps function to turn off the badges on taskbar icons. Disable the Show flashing on taskbar apps option if you are not a fan of the taskbar’s icon flashing.
To enable or hide the taskbar on all of your monitors if you utilize multiple displays, use the Show my taskbar on all screens function.
Position the task bar at the top of the screen.

The taskbar on Microsoft Windows is docked to the bottom of the screen and cannot be moved arbitrarily. It cannot be positioned to the left or right of the screen, however a registry hack can be used to bring it to the top.
Launch Registry Editor by selecting Start and typing the following address into the top bar:
HKEY_CURRENT_USER\Software\Microsoft\Windows\CurrentVersion\Explorer\StuckRects3
Double click the Settings file located in the StuckRects3 folder. This will cause the Edit Binary Value box to open. Inside, you will find a table with all of the values. Locate the fifth value from the left by moving to the second row. Default, this appears to be “03.”
To change the value to “01,” move the mouse to the right (end) of this value and press Backspace once. After selecting OK, close the Registry Editor application.
Next, restart Windows Explorer and launch the Task Manager application.
Change the size of the taskbar.
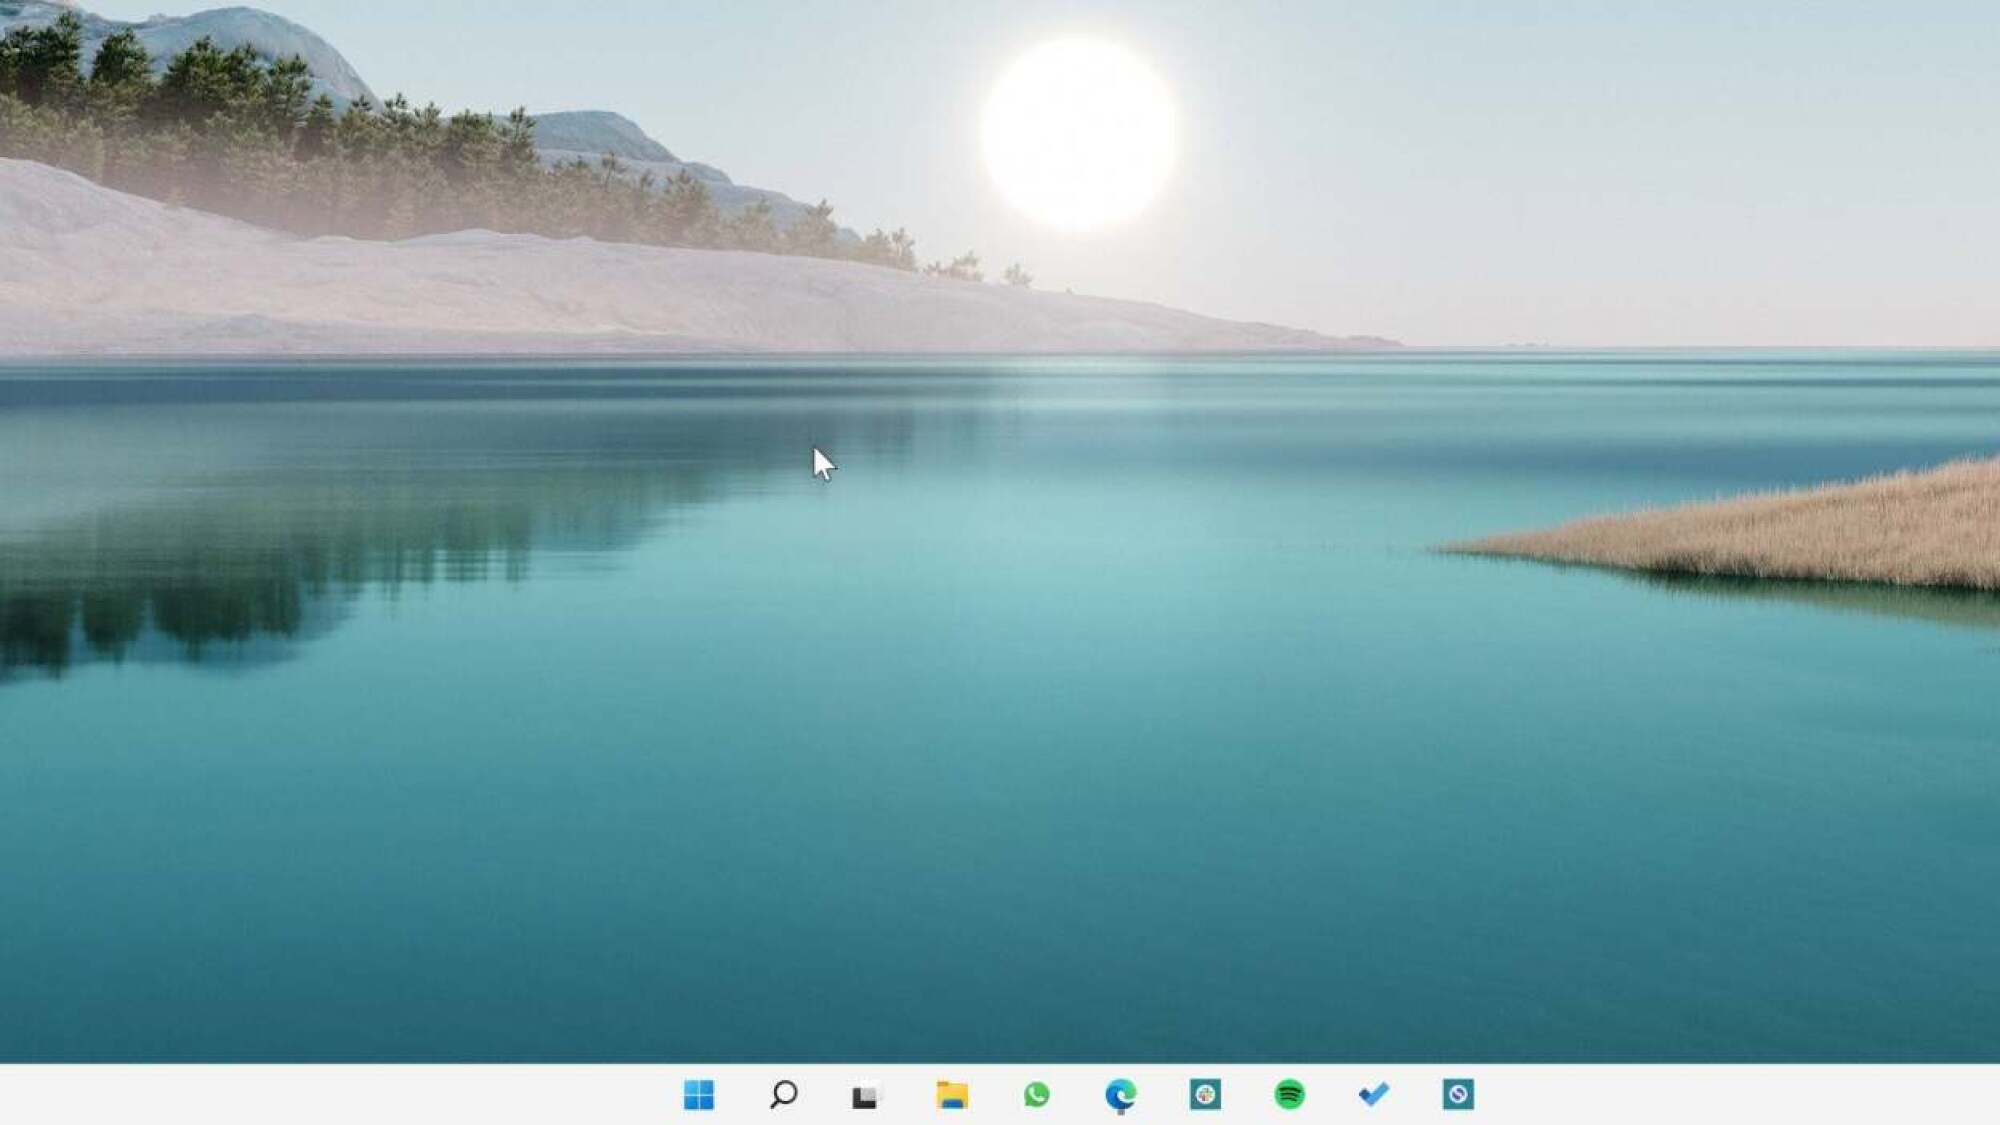

The inability to simply resize the Windows 11 taskbar to make it bigger or smaller is another significant change. However, once more, even though there is not a settings option to modify this, a registry hack can be used to accomplish so.
Select Start > Registry Editor, then type the following address:
HKEY_CURRENT_USER\Software\Microsoft\Windows\CurrentVersion\Explorer\Advanced
In the empty space, use the right-click menu to select New > DWORD (32-bit) Value. There will be a new entry added to the Advanced folder’s bottom. Call it TaskbarSi instead.
Click the TaskbarSi file twice. If you want a smaller taskbar, type “0” in the Value Data area; if you want a larger taskbar, enter “2” (with “1” being the default). Press the “OK” button.
Either restart Windows Explorer from the Task Manager or restart your computer. Your taskbar ought to show up at its new size.
Return the taskbar to Windows 10


We have one more suggestion for you if you have tried every adjustment and are still not happy: abandon the entire enterprise and return to the Windows 10 taskbar. Or at the very least, restore a few of the Windows 10 features.
ExplorerPatcher is a free and open source program that you can use to restore Windows 10’s Start menu and full taskbar. To instantly return to the good old days, all you need to do is install the program. The ability to personalize any aspect of the taskbar by going into the Settings is the greatest feature of the software. For example, you can restore Windows 10’s applications view while retaining Windows 11’s flyout menus and system tray.
The customisation is crucial in this case because it allows you to go back to the Windows 8 menus. For the ideal taskbar configuration, make sure to follow the directions in our dedicated tutorial, where we go into much more detail regarding ExplorerPatcher.